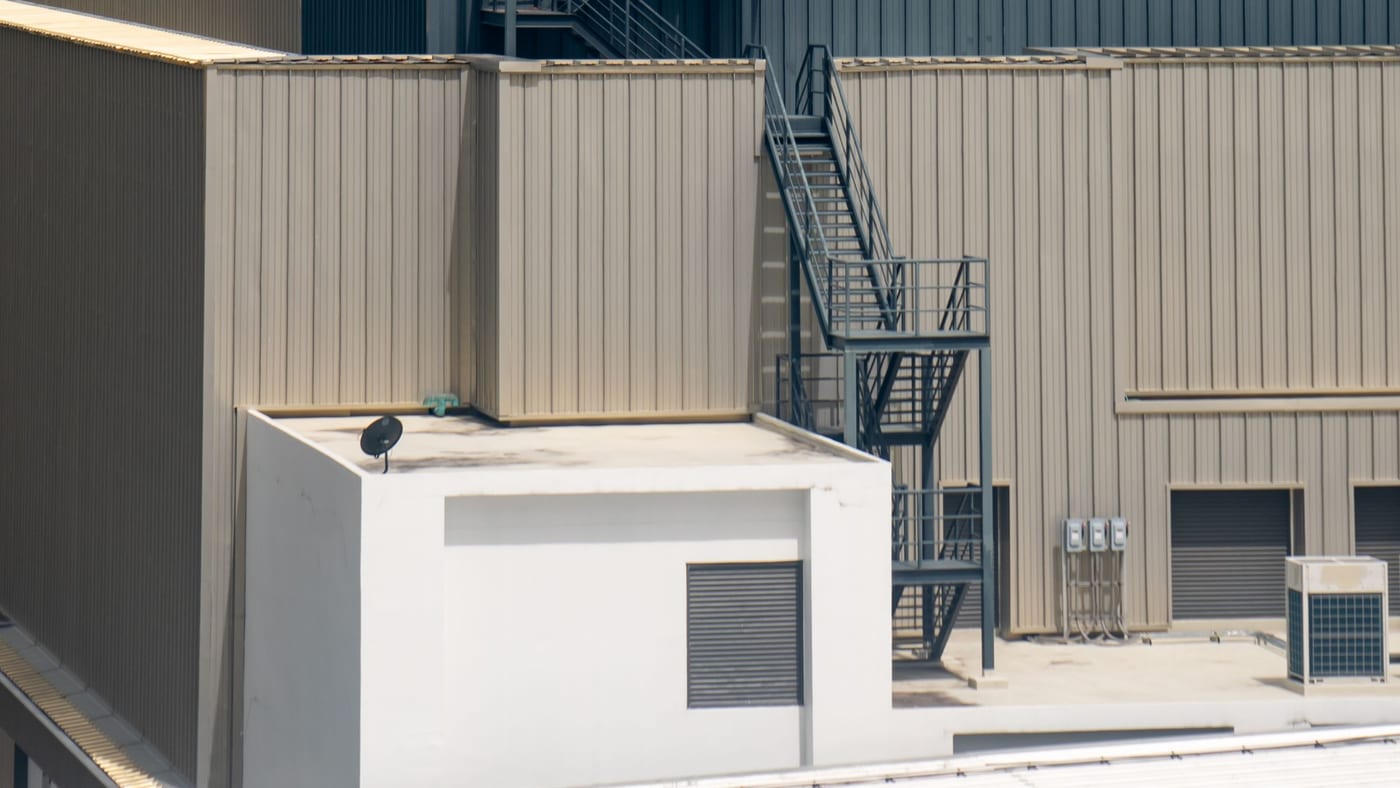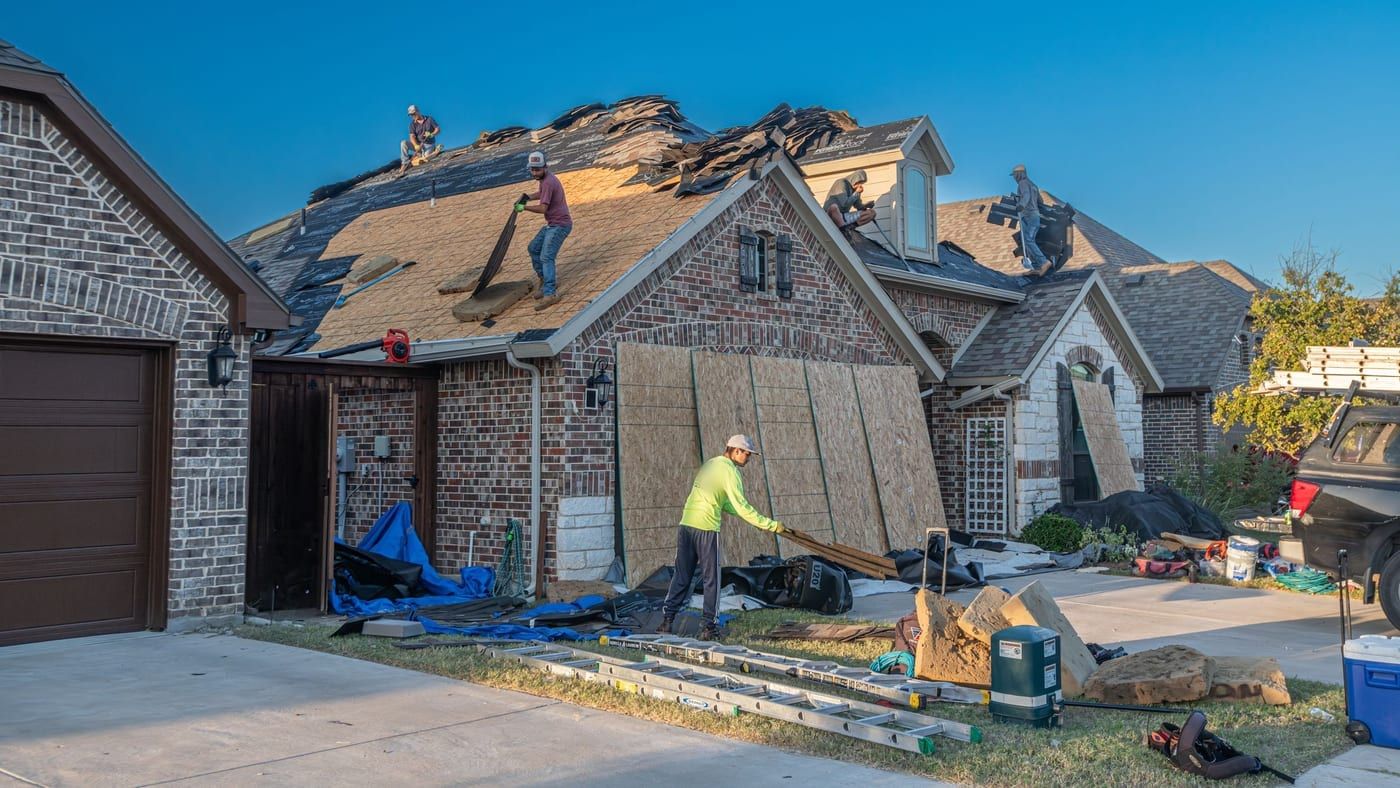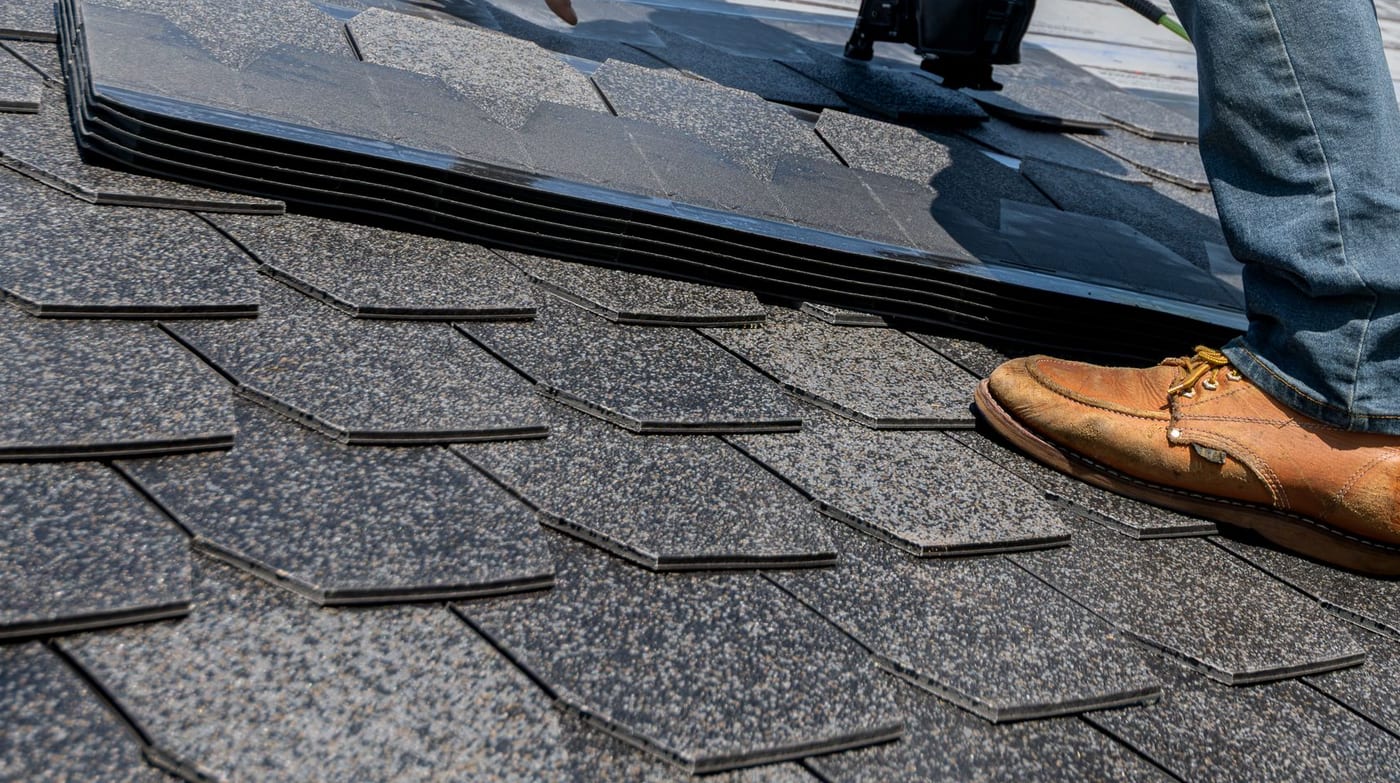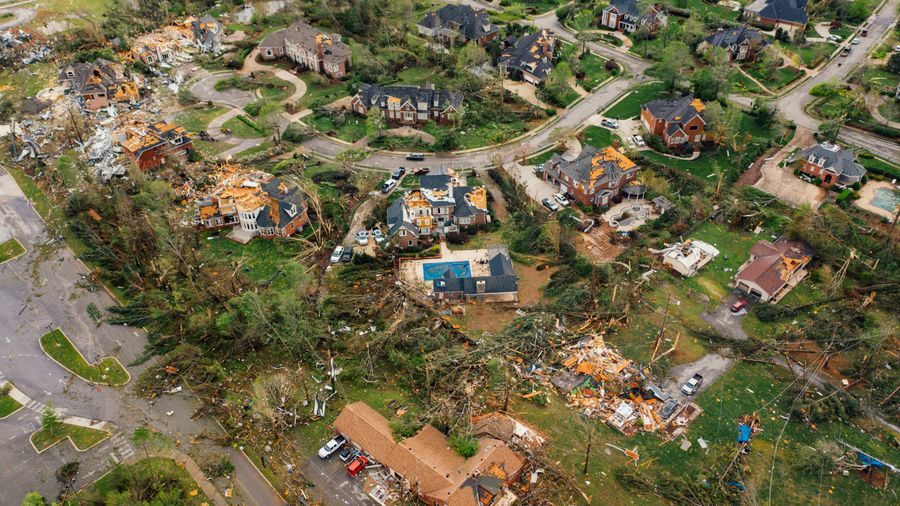
A roof coating looks simple from the street. Someone goes up with the material, and the roof turns white. Whether that coating holds up depends on nearly everything that happened before it went on. We're Signature Roofing & Coatings, based in Boerne and working on flat, nearly flat and metal roofs across 14 Texas towns. Here is what the job looks like, and what to ask any contractor about it.
Commercial roof coating in four steps
The work has four parts: assess, prepare, coat and verify. Here is what happens in each one, and why.
Step 1: Roof assessment
We look at what shape the roof is in, what it's made of and how water drains off it, so we can decide whether it should be coated at all, and with what. We take photos and measurements, and we ask about your timeline and concerns.
This step has a possible ending that a lot of owners don't expect: we tell you not to coat it. We don't push coatings on every roof. When a roof is still solid and the damage is only on the surface, we're honest about that, and when it isn't, we're honest about that too. If you're not sure which you have, start with restoration vs replacement.
Step 2: Surface preparation, the step that matters most
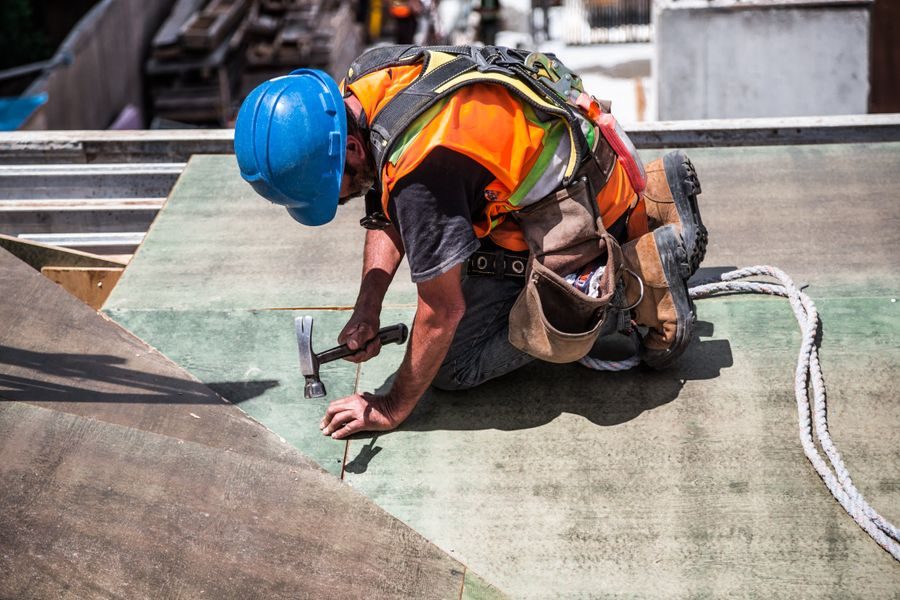
The coating is only as good as the surface beneath it. We clean and repair the roof surface, removing debris and fixing cracks. Cracks, holes and damaged roofing have to be fixed before coating. Proper prep is what lets the coating bond correctly and last longer.
A rushed prep job creates failures later, and it’s the easiest place to cut a corner, because nobody can see prep once the coating is down. A coating only holds up if you know where the water goes, how much the roof moves in the heat, and that the surface has been properly cleaned and repaired. So ask about those before you sign. A contractor should be able to tell you:
- How the roof will be cleaned, and what happens if it doesn’t come clean
- Which repairs will be made before any coating goes on
- What they’ll do about areas where water sits
- How they know the coating will bond to your roof’s material
Step 3: Coating application
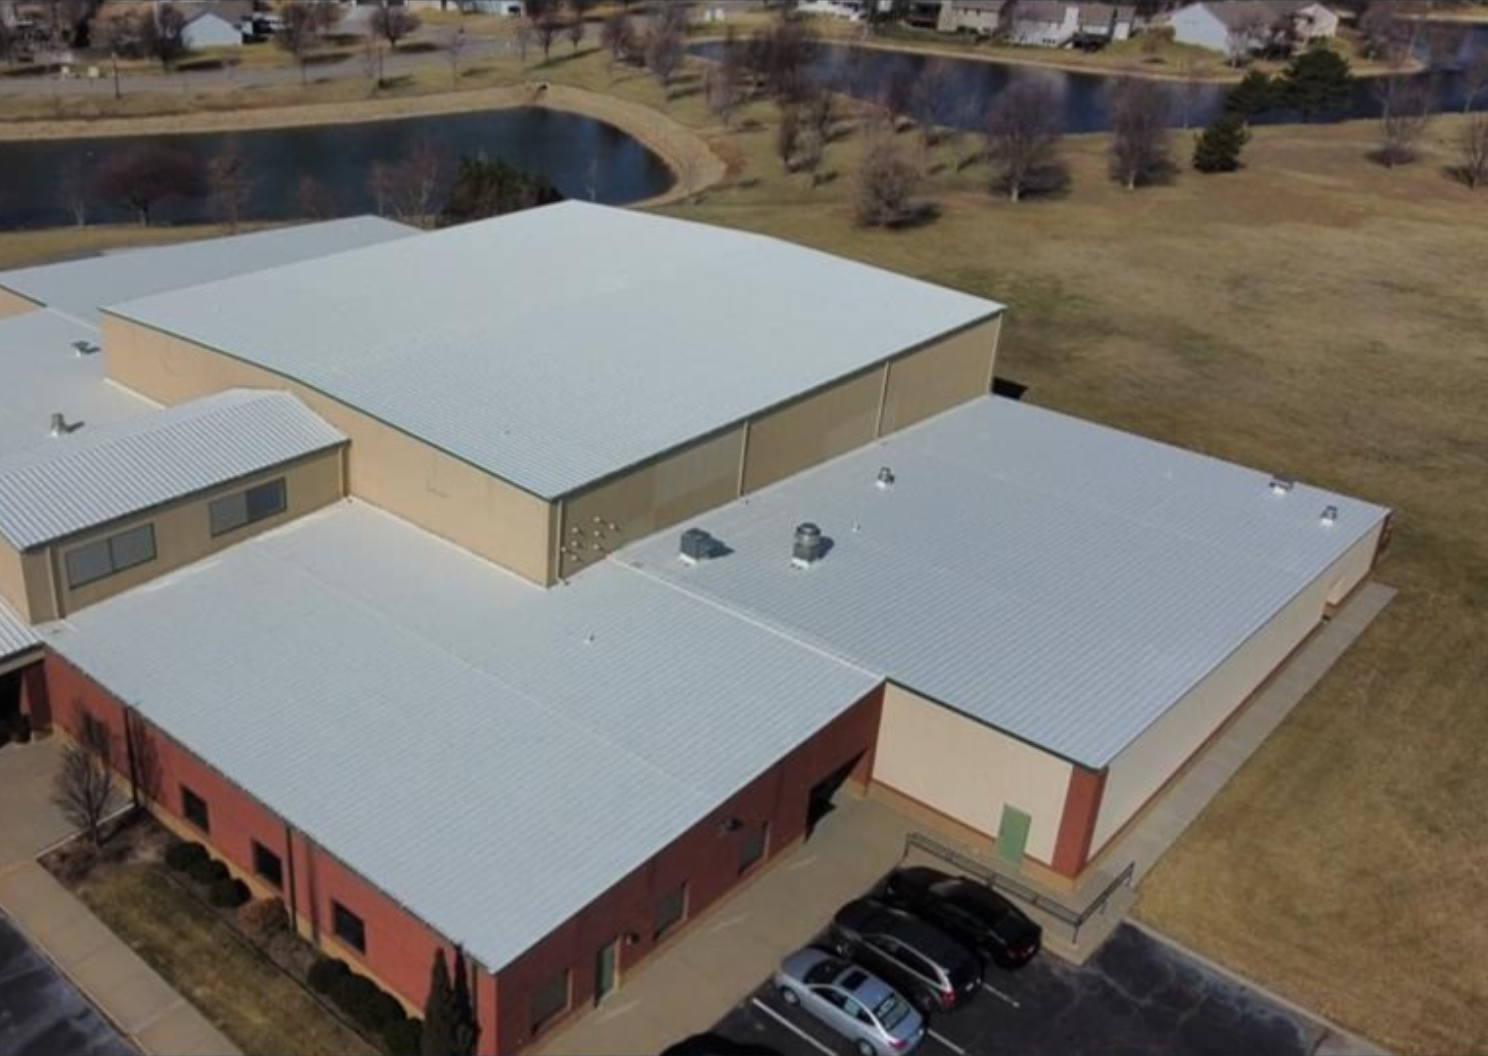
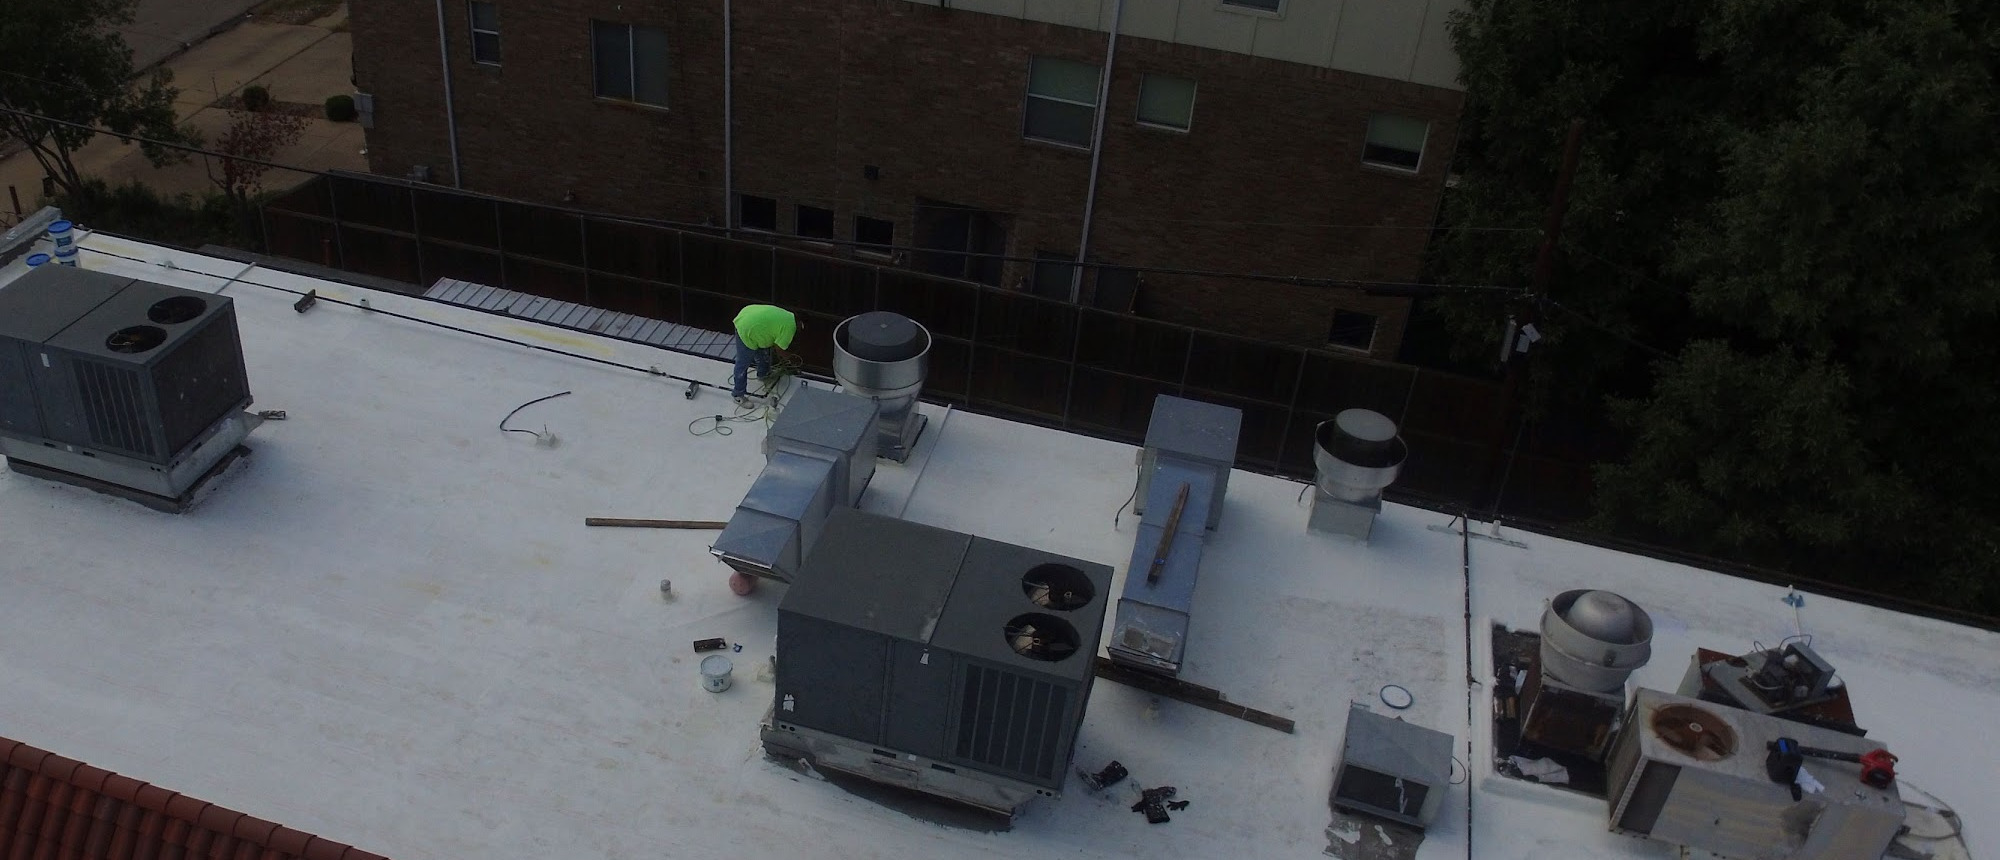
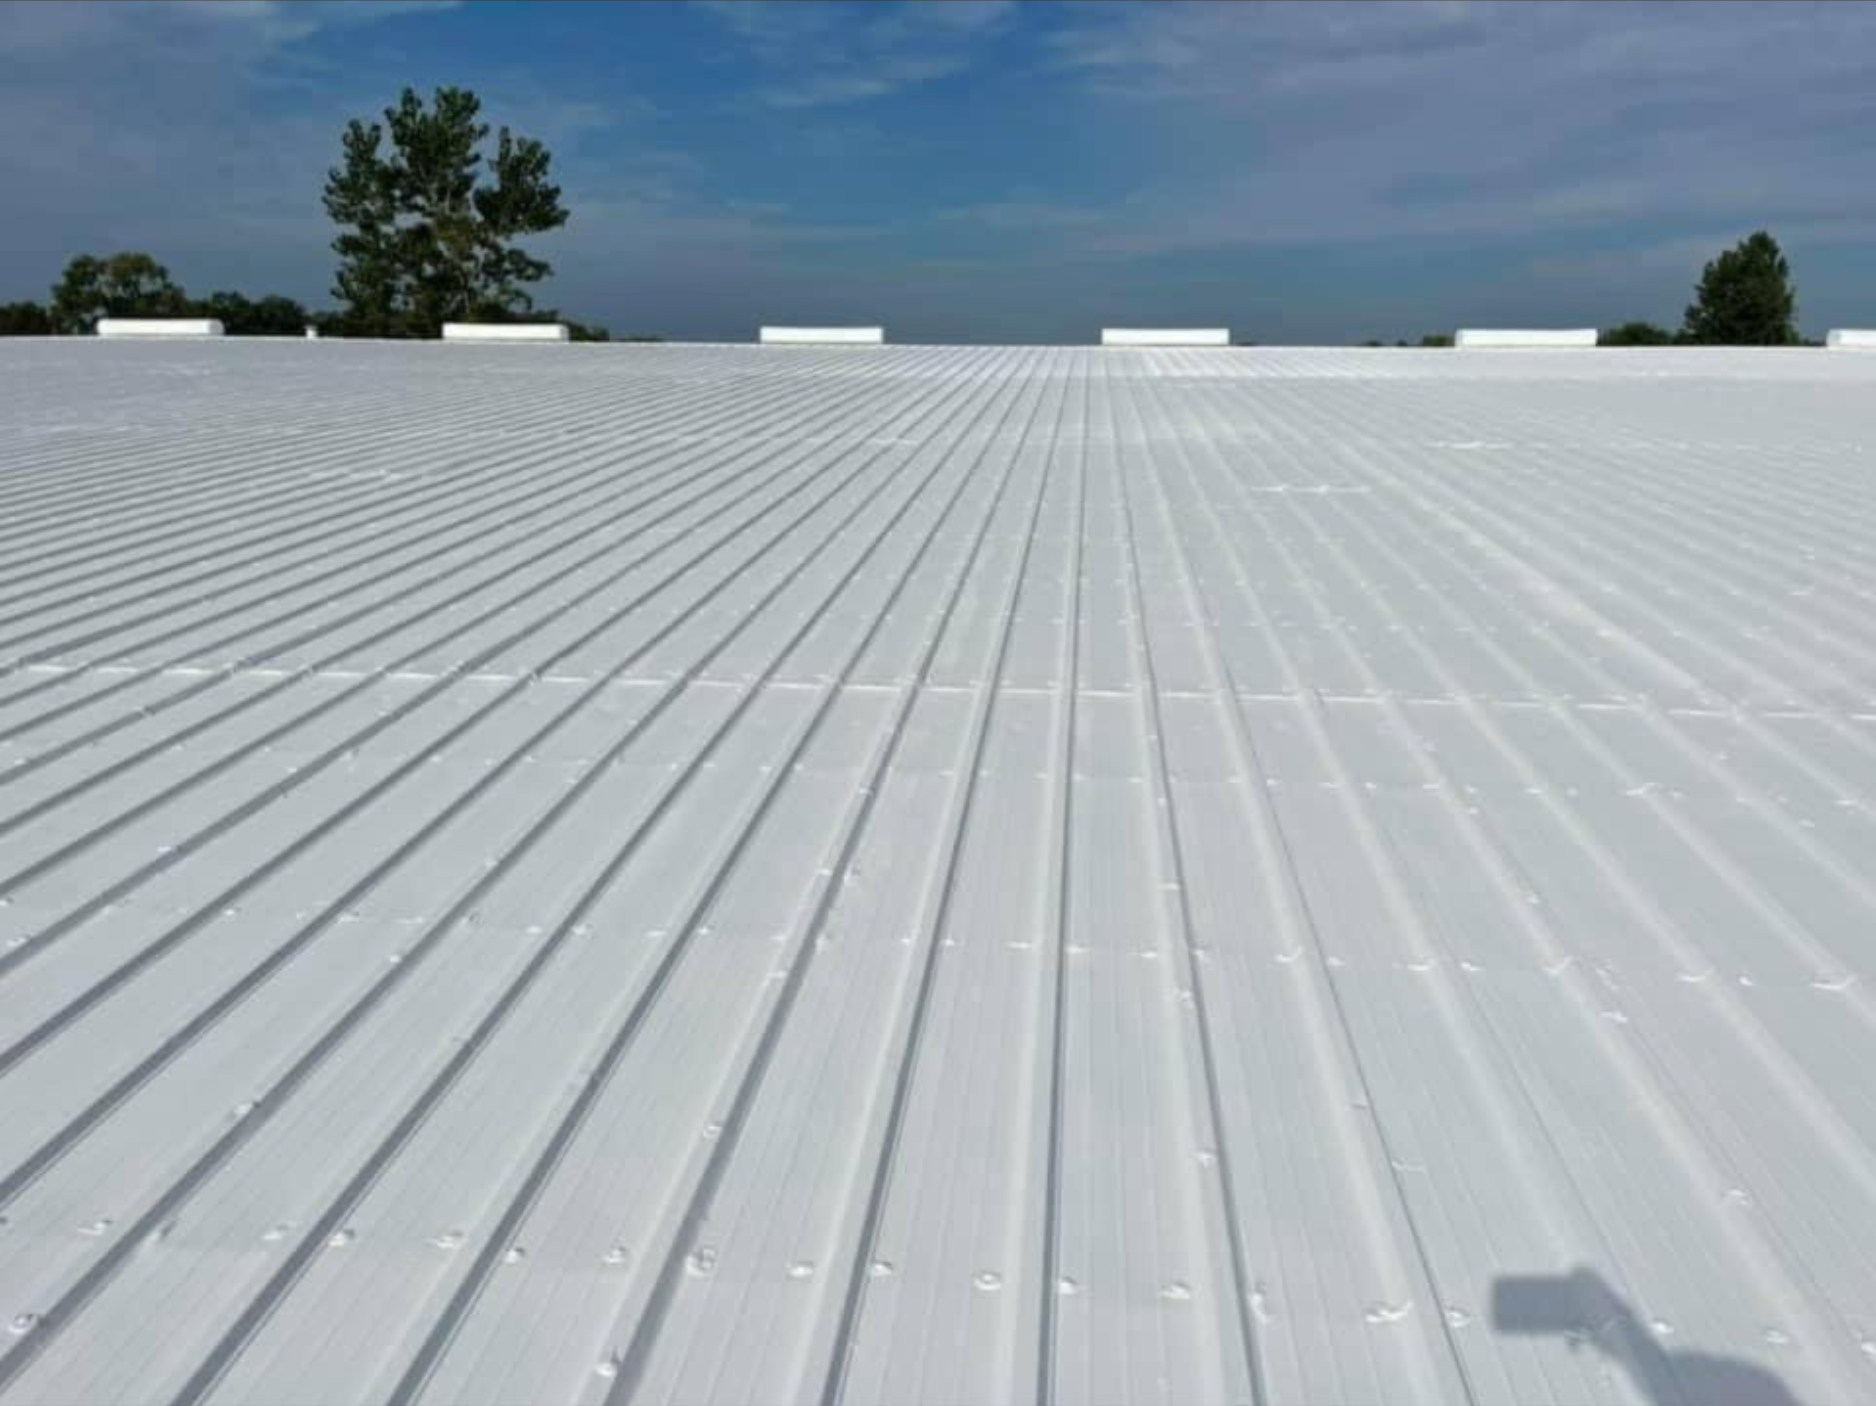
We apply the liquid coating in even layers, following the maker's instructions, usually in multiple coats. The material seals seams, weak spots and the places where pipes and vents come through and forms one seamless layer over the existing roof, without tearing off the old roof. The surface it leaves behind reflects heat, which eases the load on your cooling.
We apply acrylic, silicone and polyurethane coatings, customized to your roof type and exposure. Acrylic vs silicone vs polyurethane covers how those differ. How long the job takes depends on the size of the roof and the shape it’s in, and the assessment gives you the actual timeline. Weather matters too, because coatings need the right conditions to cure.
Step 4: Final inspection and photo report
When the coating is down, we test the seams and verify coverage across the entire roof. Then you get a full report with photos. Keep it. It’s your record of what was done and what condition the roof was left in, and whoever looks at the roof next will want it.
While the job is running
A coating job happens over the heads of your tenants, so how the crew behaves matters as much as what they spray. We show up early. We communicate daily. We leave the site cleaner than we found it. You'll get updates during the work, and we document everything for your records.
To see more of how a job runs from the first call to the last walk, read how we work, or look at fluid-applied roof coating systems. If you want to know whether your roof is a good candidate, book a free roof inspection.